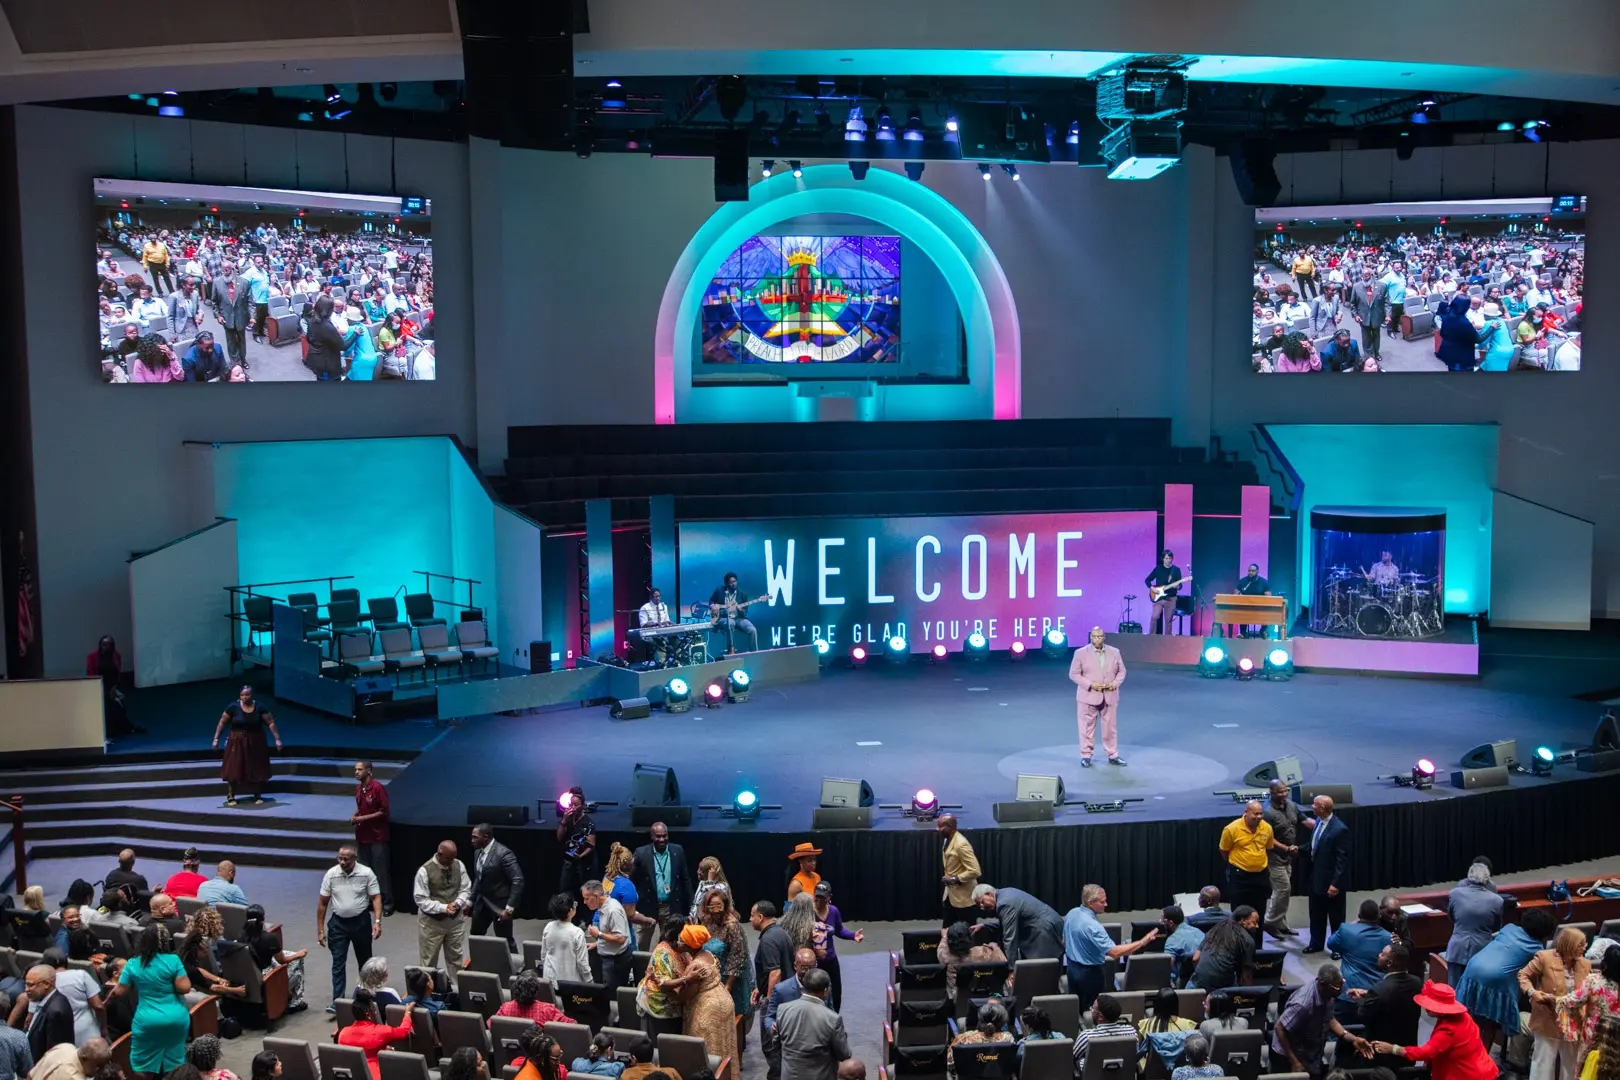
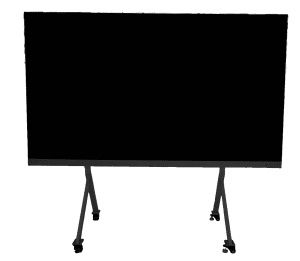
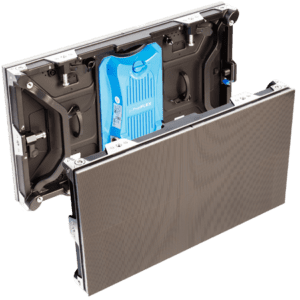
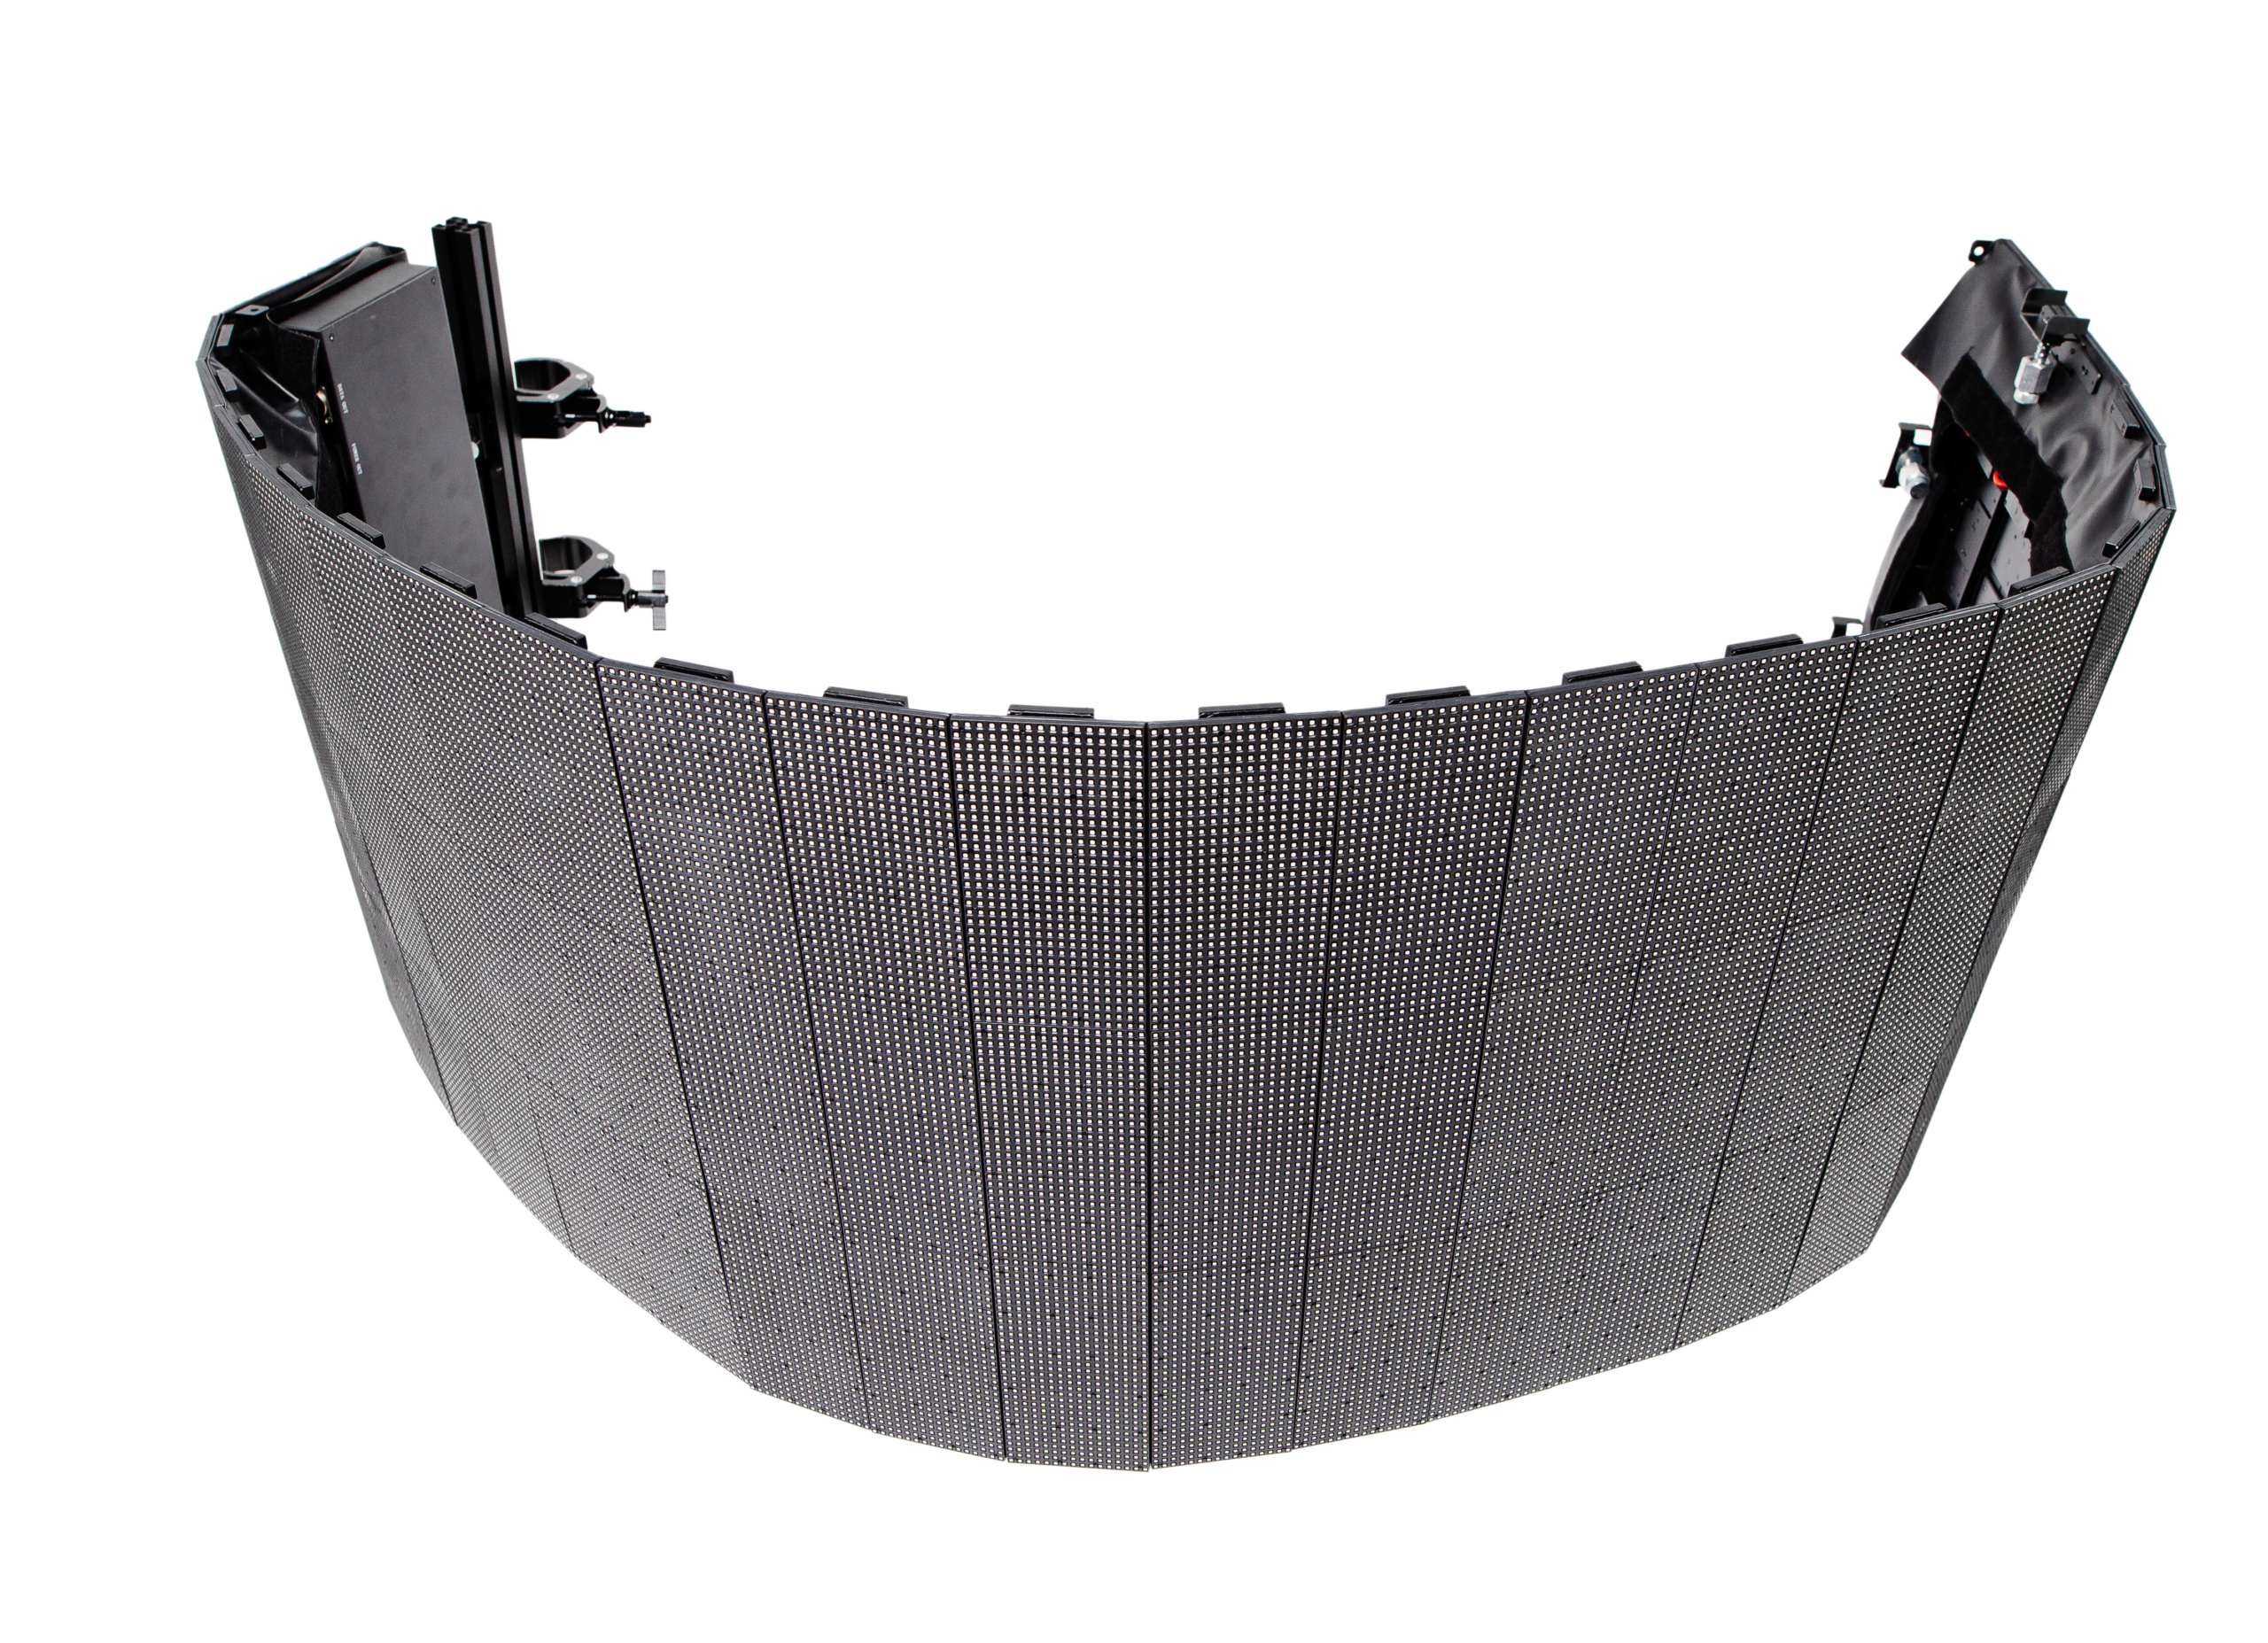
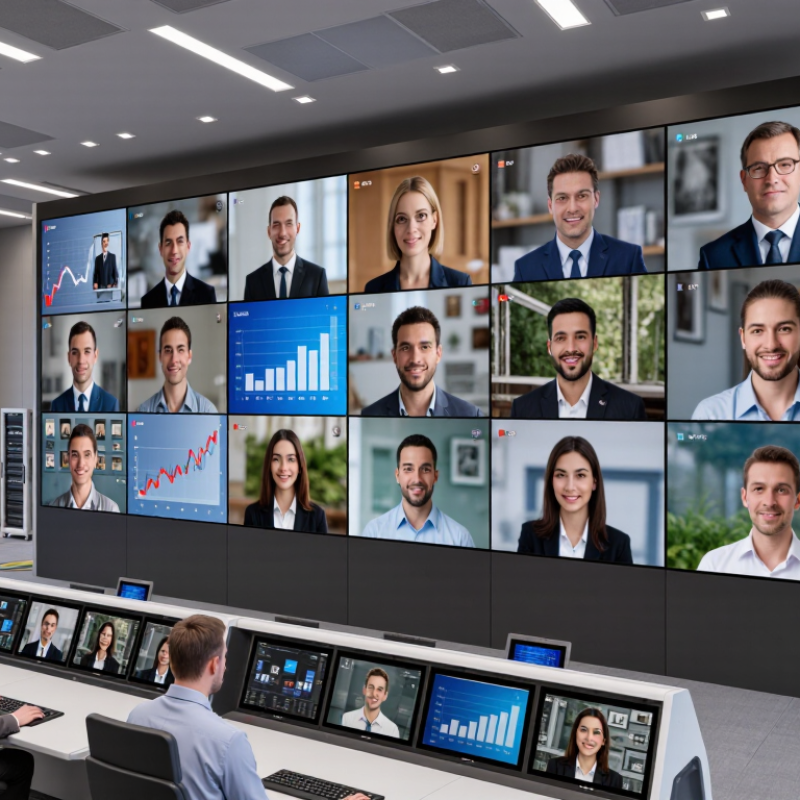
Communicate worship schedules and sermon messages while engaging your congregation with visual technology.
View More
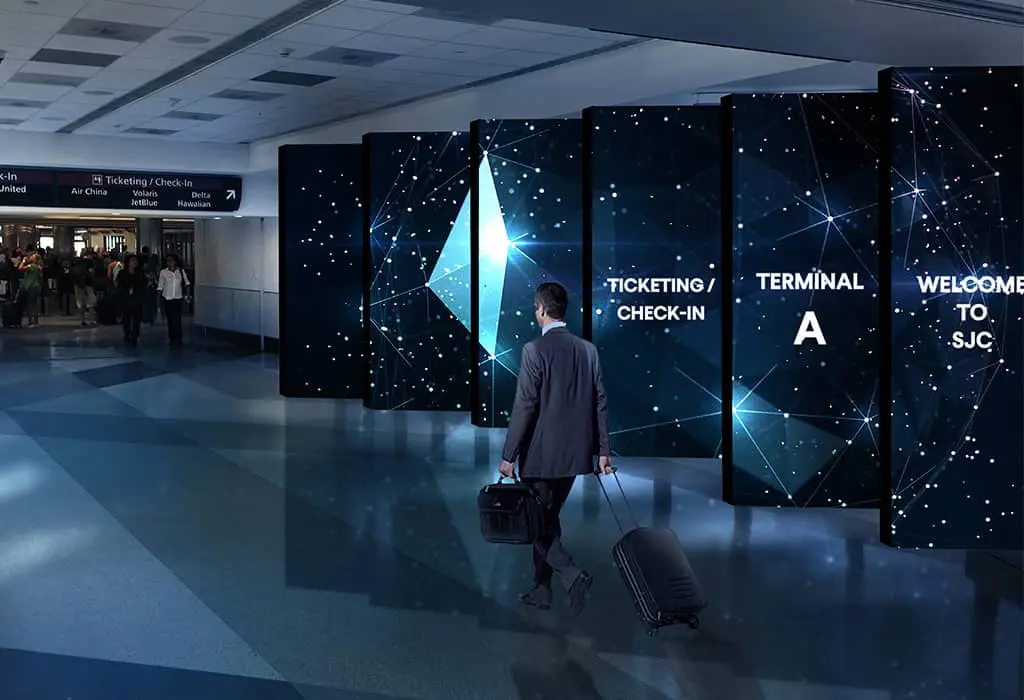
LED displays in transportation settings, such as airports, train stations, and bus terminals, serve as dynamic platforms for real-time information, advertising, and wayfinding, enhancing passenger experience with clear, up-to-date travel details and announcements.
View More
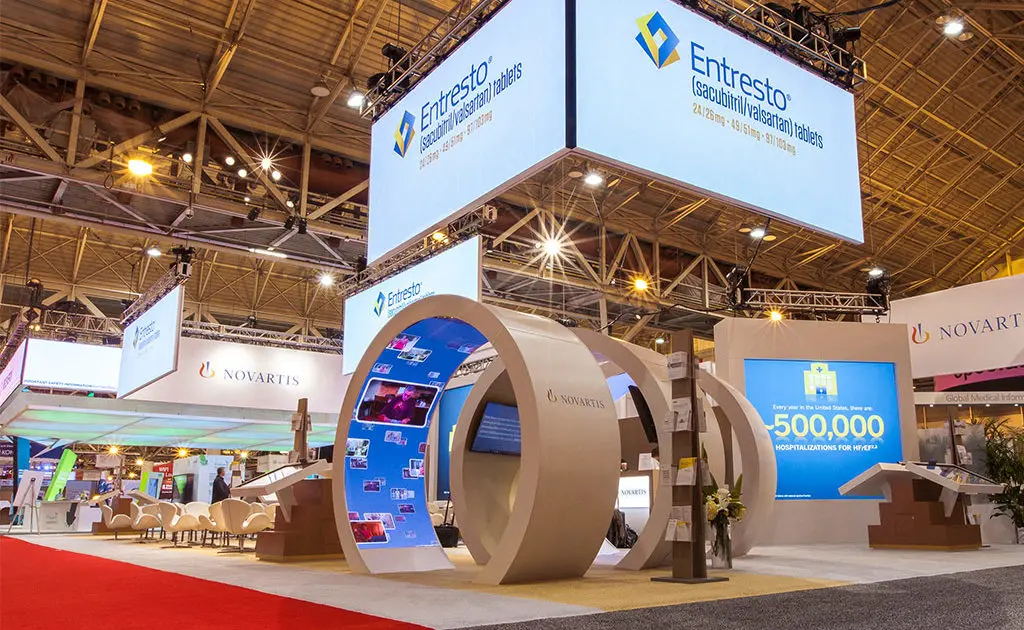
Differentiate yourself from the competition by incorporating a digital experience in your booth with our trade show LED displays.
View More
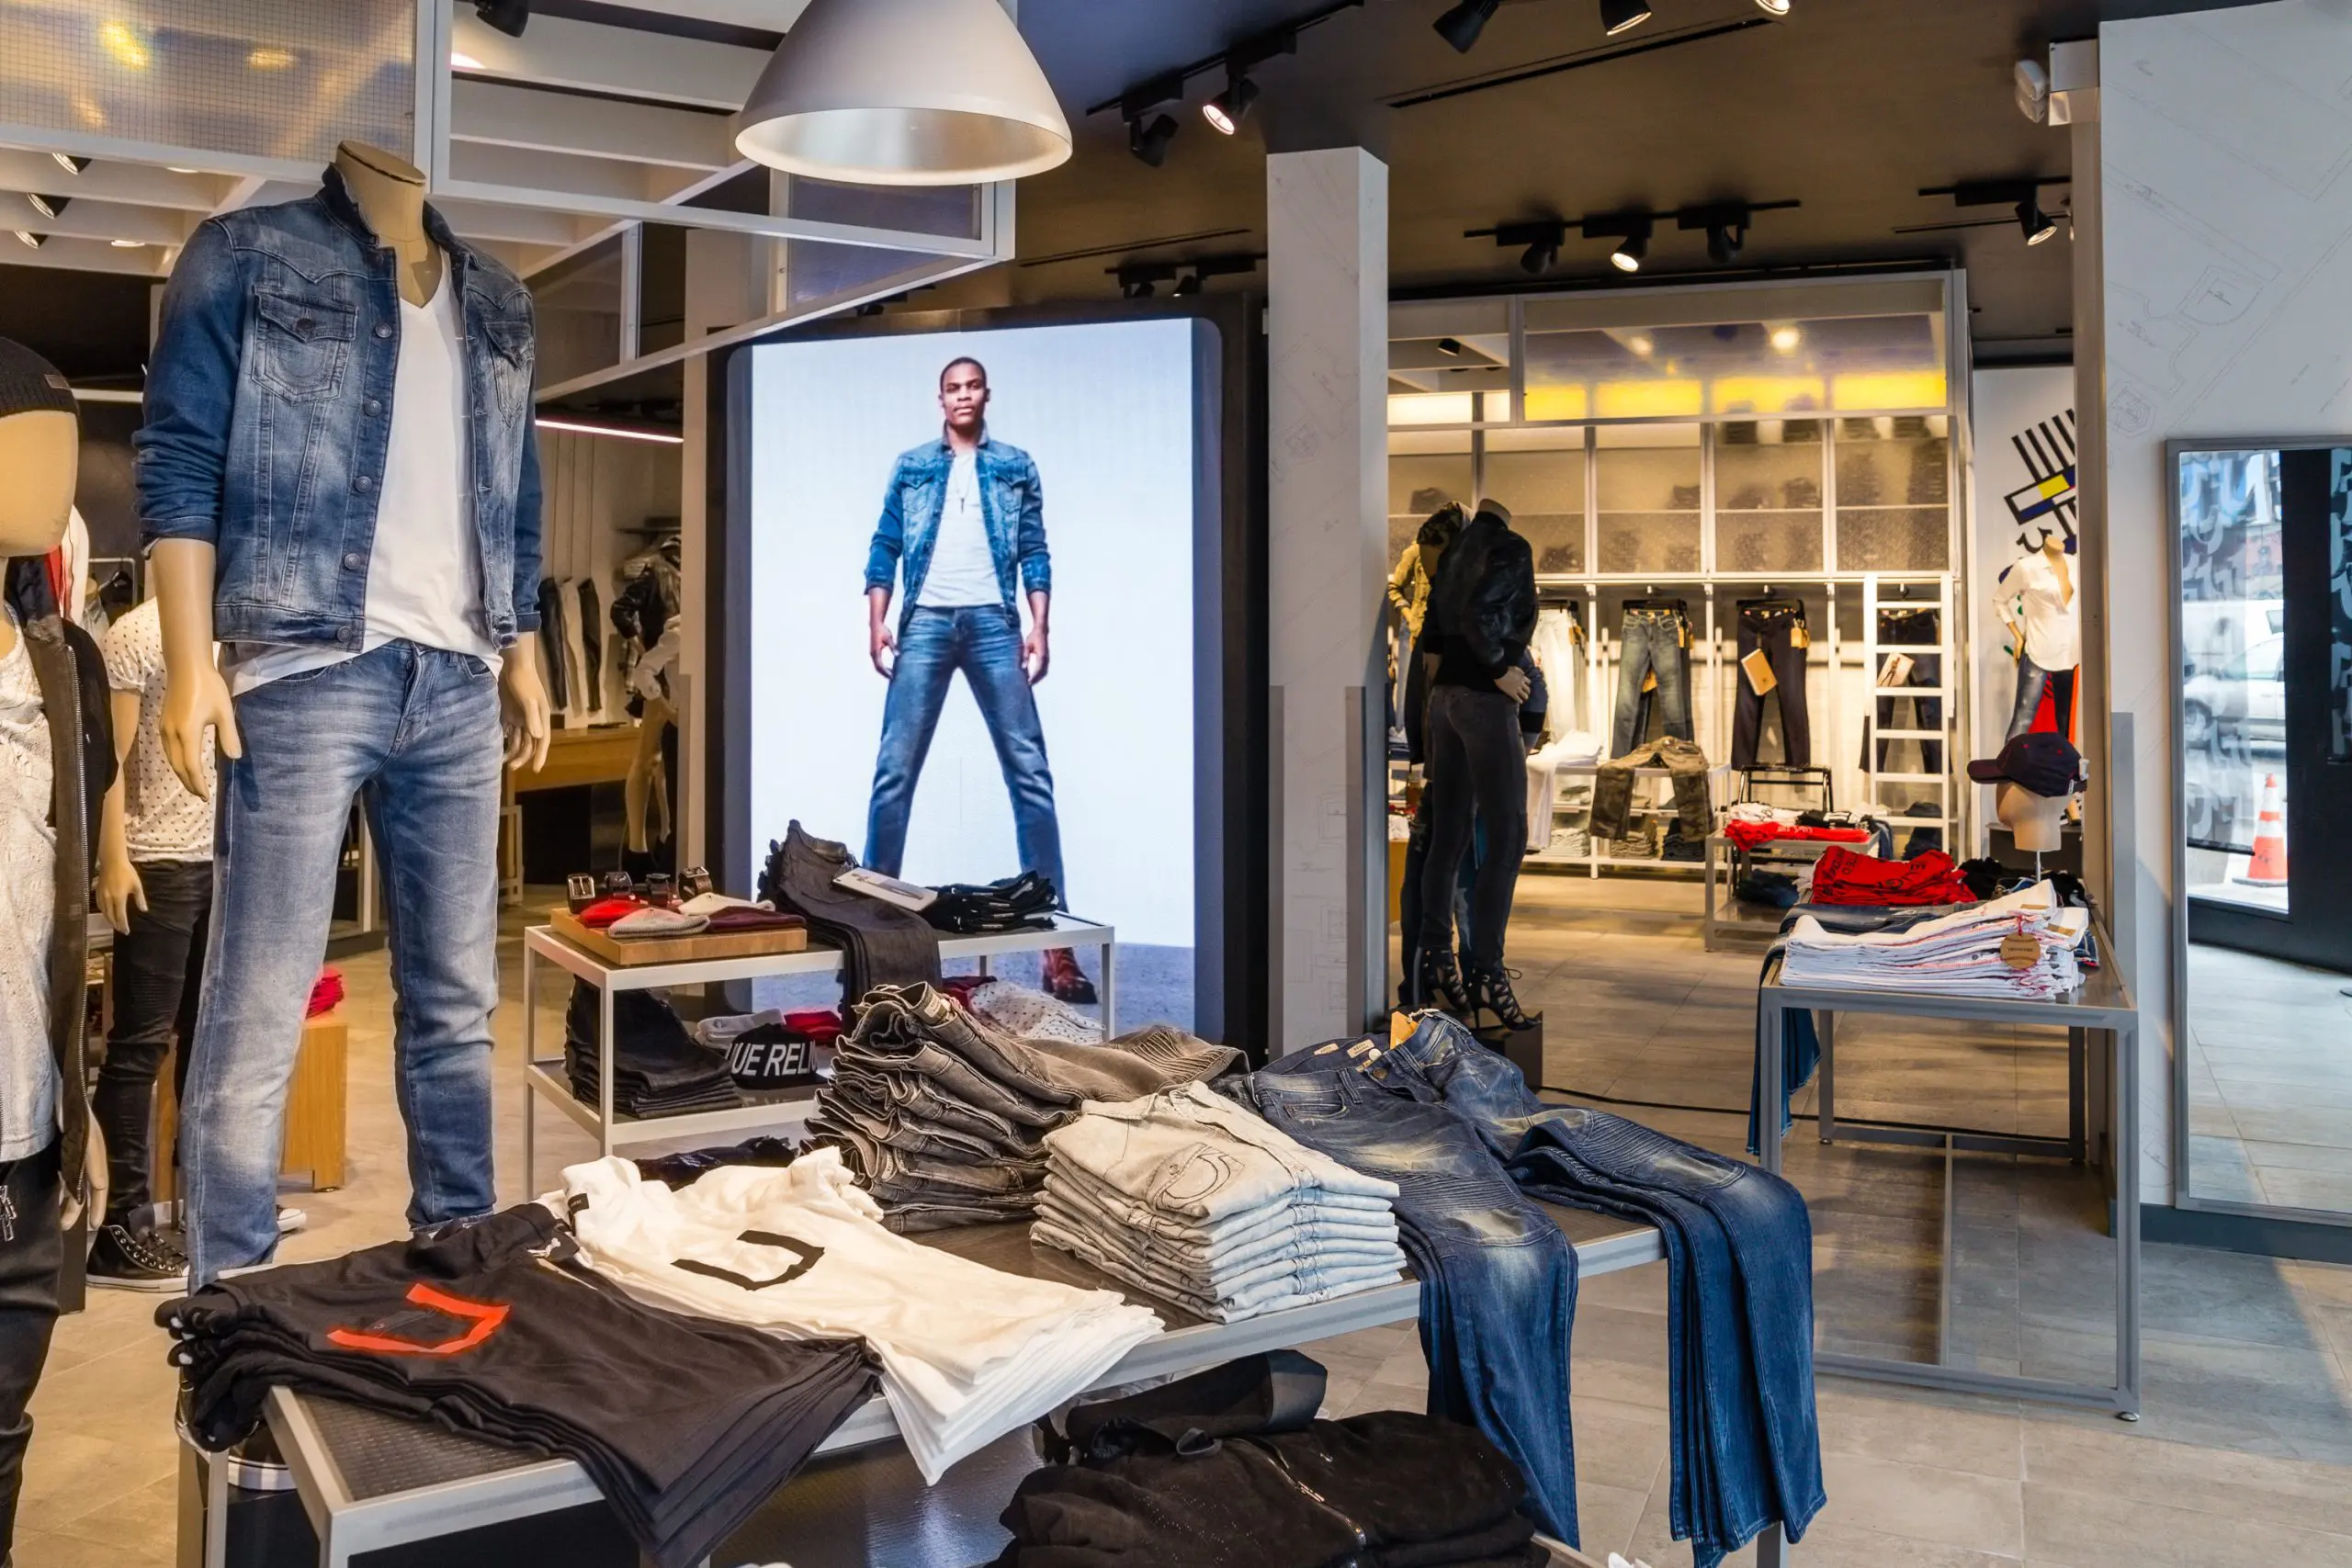
Communicate your brand’s message, stand out from the competition and engage your target market with LED digital signage.
View More
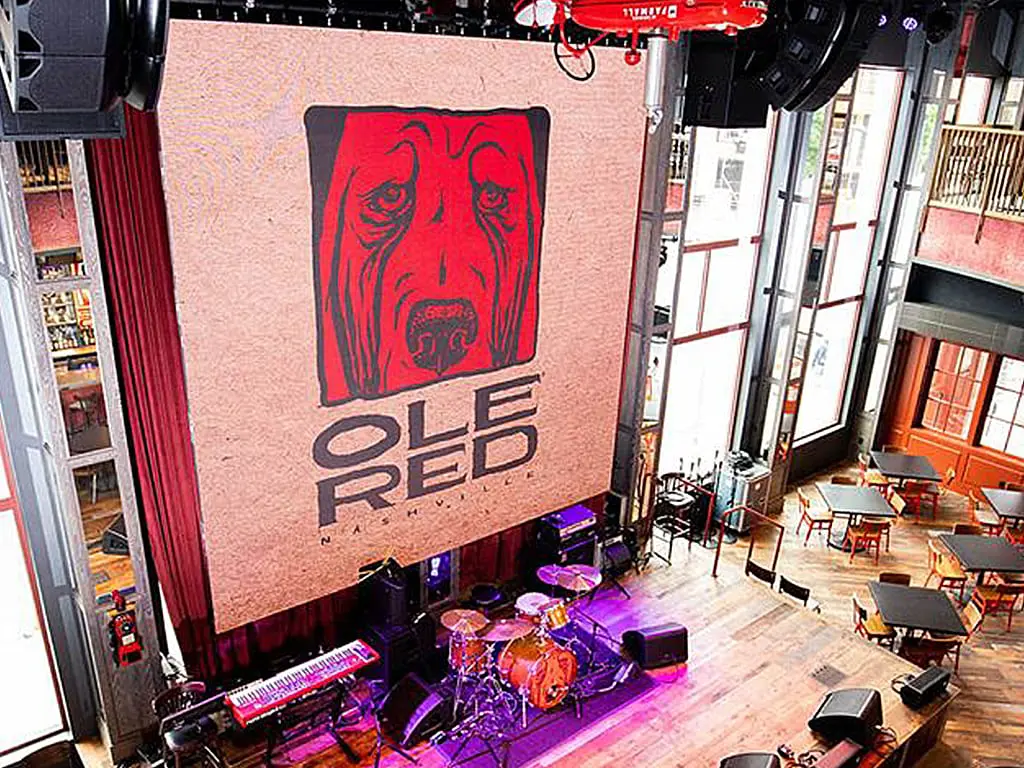
We offer creative solutions at cost-effective rates. You will be able to deliver your sermons more effectively and engage your congregation through one-of-a-kind lyric video walls and house of worship LED displays.
View More
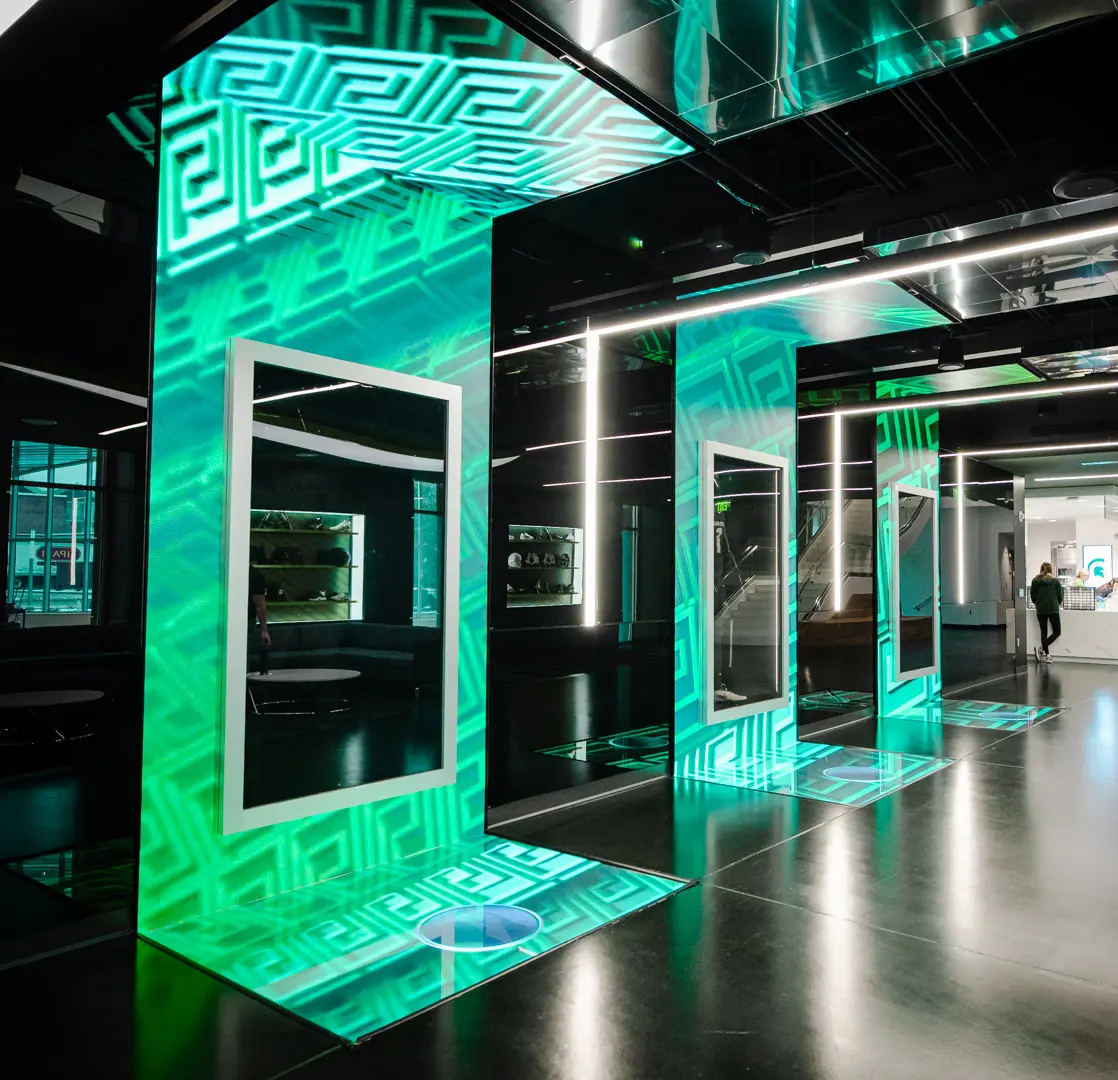
Enhance ambiance, display interactive directories and wayfinding displays, and promote amenities and events to elevate the guest experience.
View More
Incorporate digital displays to enhance your students’ learning experience and market to prospective students and donors.
View More
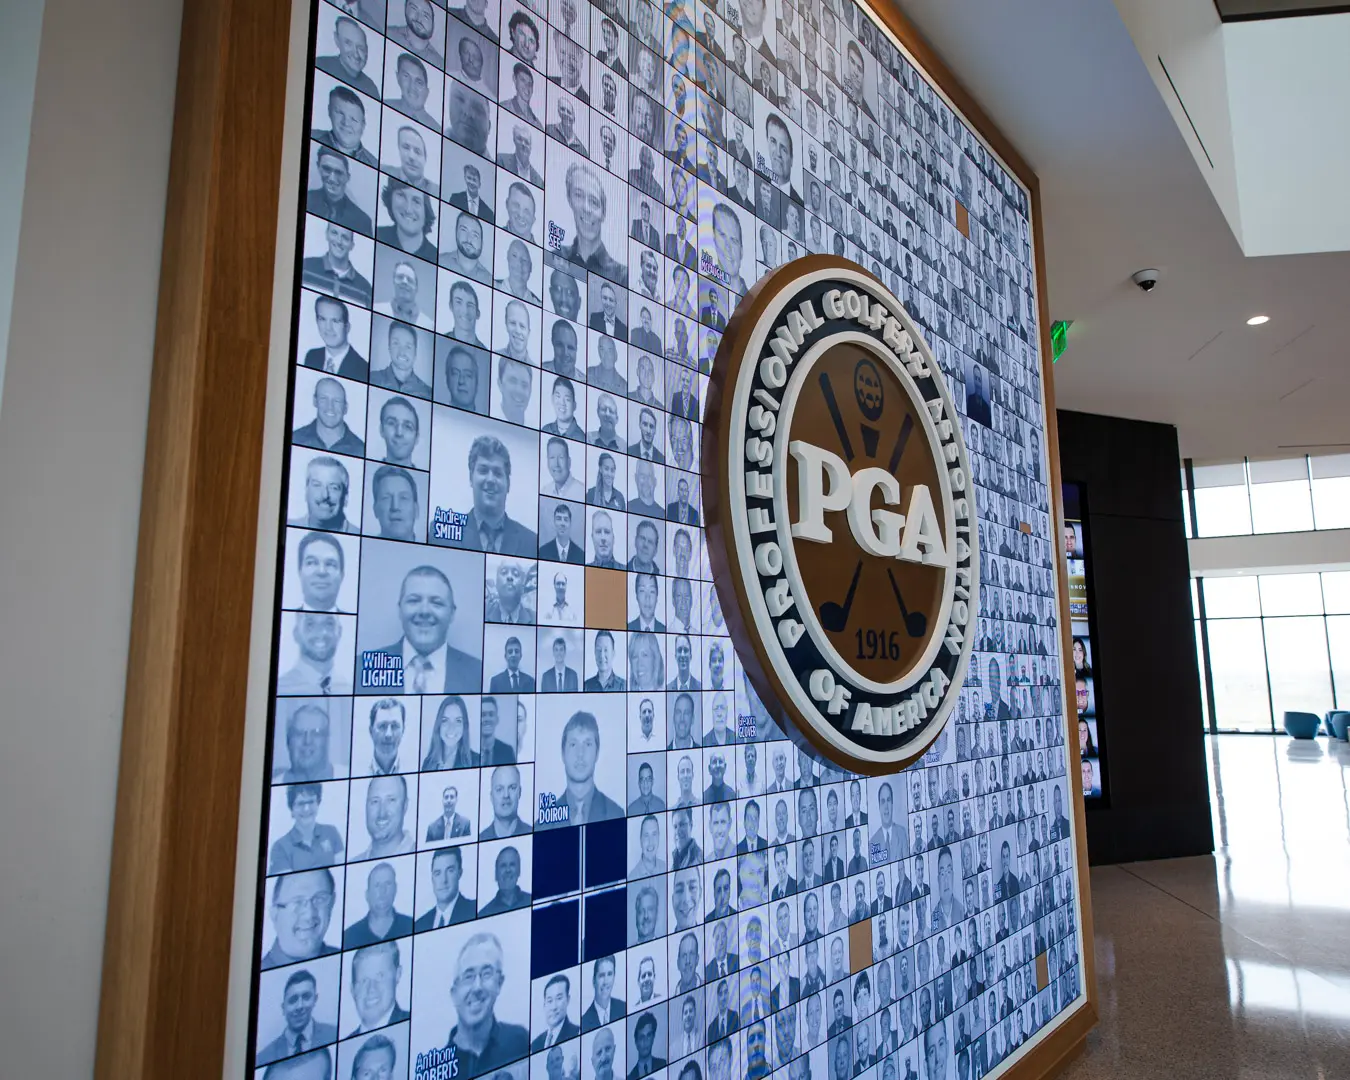
Transform your corporate spaces with PixelFLEX LED video displays. Enhance communication, elevate branding, and create dynamic environments.
View MoreChoosing the right video wall display involves more than comparing screen size and price. A bright showroom image can hide uneven bezels, weak color consistency, or difficult maintenance. In a real control room, retail space, or conference venue, these details affect daily performance. Viewing distance, ambient light, wall structure, content type, and operating hours should guide the decision.
Small errors matter. A display that looks impressive at two meters may appear too dim across a large lobby. Heat, cable access, and replacement procedures also deserve attention. Experienced integrators usually check pixel pitch, brightness, refresh rate, calibration, and warranty coverage before recommending equipment. They also inspect the installation environment instead of relying on product brochures alone.
This guide presents ten practical tips for choosing the best video wall display for your needs. It considers direct-view LED and LCD configurations, control systems, energy use, and long-term service. Reliable manufacturers should provide clear technical specifications, documented testing, responsive support, and realistic lifespan information. Be cautious with absolute claims. No display fits every project.
A lower purchase price may create higher costs later. That assumption fails. Replacement panels, specialized processors, and complicated access can increase downtime. A careful selection process connects image quality with usability, safety, and maintenance. The goal is not simply a larger picture. It is a stable visual system that performs well after installation and remains manageable for years.
Choosing a video wall begins with its display type, not its screen size. LCD video walls suit control rooms, retail spaces, and meeting areas where sharp images and moderate budgets matter. Their narrow bezels reduce visible gaps, although seams may still distract viewers. Direct-view LED walls work well in large halls, outdoor-facing venues, and broadcast environments. They offer strong brightness and flexible dimensions. However, fine pixel pitches can increase costs quickly.
Rear-projection systems remain useful in controlled rooms with limited ambient light. They can produce detailed images across large surfaces, but they require deeper installation space. Transparent displays support creative storefronts and exhibition designs. Their visual effect is impressive, yet contrast may weaken under direct sunlight. Applications should guide the decision. A transport center needs readability from a distance, while a luxury showroom may value visual elegance more than extreme brightness.
Tip: Measure viewing distance before choosing pixel pitch. A wall that looks perfect nearby may appear unnecessarily expensive across a lobby. Check brightness, refresh rate, ventilation, and maintenance access during a site visit. I have seen projects focus on resolution while overlooking heat and cable routing. That mistake becomes expensive later. Content also matters. Static dashboards, fast video, and emergency messages place different demands on the system. No option is perfect. Test a sample panel under real lighting, and question whether the planned layout still works when viewers stand off-center.
| Tip | Decision Dimension | LCD Video Wall | Direct-View LED | Projection-Based Wall | Best-Fit Application |
|---|---|---|---|---|---|
| 1 | Define the viewing distance Estimate how close the audience will be to the screen. |
Suitable for close and medium viewing distances; visible bezels may affect image continuity. | Pixel pitch is important. Smaller pitch generally supports closer viewing; larger pitch is often adequate farther away. | Works best when the audience can remain within a planned viewing zone and the surface is carefully aligned. | Control rooms, meeting rooms, retail spaces, auditoriums, and event environments. |
| 2 | Match the display type to the image size Consider whether the wall needs standard, large-format, or unusual dimensions. |
Built from rectangular panels, commonly using 16:9 screens; aspect-ratio choices can be limited by panel dimensions. | Highly scalable and able to form very large, wide, curved, or custom-shaped surfaces. | Can cover large surfaces, but requires suitable throw distance and a flat or properly prepared projection area. | Large public displays, stages, museums, digital signage, and immersive installations. |
| 3 | Check brightness and ambient light Assess daylight, indoor lighting, and reflections at the installation site. |
Typically provides consistent indoor brightness and good readability in controlled environments. | Usually offers strong brightness and is available for bright indoor or outdoor environments; brightness should be calibrated to the location. | More affected by ambient light, screen reflections, and room darkening requirements. | Indoor control rooms, bright lobbies, outdoor signage, and daylight-sensitive public spaces. |
| 4 | Prioritize bezel visibility Decide how important uninterrupted images and graphics are. |
Modern narrow-bezel models can reduce visual gaps, but physical seams remain between panels. | Nearly seamless when modules are correctly installed and calibrated. | Can provide a continuous image on one surface, although edge blending may be required for multiple projectors. | Maps, dashboards, cinematic content, advertising, and immersive visual experiences. |
| 5 | Evaluate resolution and pixel density Choose sufficient detail for text, maps, charts, and video. |
Individual panels commonly support Full HD or 4K-class resolutions; the complete wall may use a larger combined canvas. | Resolution depends on total pixel count and pixel pitch; fine-pitch modules provide greater detail at close range. | Resolution depends on the projector and screen size; image detail can be reduced by focus, alignment, or surface quality. | Data visualization, surveillance, presentations, broadcast content, and detailed technical graphics. |
| 6 | Compare viewing angles Consider whether people will watch from the sides or at different heights. |
Viewing performance varies by panel technology; off-axis contrast and color should be checked before purchase. | Often provides wide viewing angles, but cabinet design, LED technology, and calibration influence uniformity. | Viewing angle depends on the screen material; brightness and contrast can change noticeably away from the center. | Transit areas, retail floors, visitor centers, conference rooms, and public venues. |
| 7 | Review operating hours and reliability Estimate daily usage and the consequences of downtime. |
Well suited to continuous indoor operation when properly ventilated and maintained. | Designed for scalable, long-duration operation; failed modules can often be serviced individually. | Lamp-based systems may require periodic replacement; solid-state light sources generally reduce service frequency. | 24-hour monitoring, transportation hubs, command centers, and always-on signage. |
| 8 | Measure installation depth and access Confirm wall structure, ventilation, cabling, and maintenance clearance. |
Usually requires a mounting frame and rear or front service access, depending on the design. | Cabinet depth, mounting structure, power distribution, and front-service access vary by configuration. | Requires projector placement, ventilation, cable routing, and adequate throw distance. | Architecturally constrained rooms, shallow walls, stages, and temporary installations. |
| 9 | Calculate total cost of ownership Include hardware, installation, power, content, service, and replacement parts. |
Often offers predictable panel-based budgeting; replacement panels and mounting infrastructure should be included. | May require a higher initial investment, especially at fine pixel pitches, but offers strong scalability and module-level serviceability. | Can be economical for very large images, but screen preparation, alignment, lamps, and maintenance affect lifetime cost. | Projects with defined budgets, long service periods, frequent content changes, or large image requirements. |
| 10 | Verify content, connectivity, and control Check signal sources, processing, remote monitoring, and future expansion. |
Supports common digital inputs and can be managed through video-wall controllers or centralized systems. | Requires sending cards, receiving cards, processors, and calibrated signal distribution for larger configurations. | Requires signal switching, warping or blending tools, and careful synchronization for multi-projector layouts. | Control rooms, live events, digital signage networks, classrooms, and multi-source presentation systems. |
10 Tips for Choosing the Best Video Wall Display?
Screen size should follow viewing distance, not room ambition. Measure the farthest seat, nearest seat, and main sightline before selecting panels. SMPTE engineering guidance often uses a 30-degree horizontal viewing angle for immersive presentation. That is a useful benchmark, not a rigid rule. A control room may need a wider angle, while a lobby usually needs stronger visibility from the sides. In practice, a simple drawing can reveal awkward blind spots better than a product sheet.
Resolution must match image content and distance. ITU-R BT.2020 defines UHD-1 as 3840 × 2160 pixels and UHD-2 as 7680 × 4320. Higher resolution helps when viewers stand close or inspect detailed maps, dashboards, and medical imagery. It adds little value when viewers remain several metres away. Pixel pitch matters too. A smaller pitch creates sharper images, but it can increase cost and installation complexity. Do not confuse a large wall with a detailed wall.
AVIXA’s 2024 Industry Outlook and Trends Analysis valued the professional audiovisual market at roughly US$332 billion, reflecting strong demand for visual communication spaces. Yet market growth does not remove planning errors. I still see teams choosing resolution before defining content. That order is backwards. Test real footage from the intended seats, including text, dark scenes, and fast motion. Poor viewing conditions remain possible. Reflections, uneven brightness, and excessive eye movement can undermine an expensive display.
10 Tips for Choosing the Best Video Wall Display
Brightness should match the room, not the sales brochure. Tip 1: Measure ambient light during the busiest hours. A bright lobby may need stronger output, while a dark control room can appear harsh. Tip 2: Check brightness consistency across every panel. Uneven levels become obvious on white backgrounds. Tip 3: Ask how brightness changes over time. Displays often dim with age. That detail is easy to overlook.
Contrast shapes depth and readability. Tip 4: Compare black levels in a dim room, not under showroom lighting. Tip 5: Test small text, shadows, and dark scenes. Weak contrast can hide important details. Color accuracy also matters. Tip 6: Use familiar skin tones, company colors, and neutral gray images during testing. Tip 7: Check calibration tools and factory matching. Color drift between panels is distracting. My mistake was trusting vivid demo footage too quickly. It looked impressive, but it concealed subtle errors.
Seamless quality depends on more than a narrow bezel. Tip 8: Inspect the wall from several viewing angles. Fine lines may appear when panels shift slightly. Tip 9: Play continuous video across the entire wall. Watch for frame gaps, flicker, or delayed images. Tip 10: Confirm service access before installation. A beautiful wall becomes inconvenient when one panel is difficult to replace. Request real sample footage and test your own content. Perfect results in a showroom may not survive your actual lighting, distance, or daily schedule.
Benchmark scores compare practical display targets for brightness, contrast, color, seamless installation, and image uniformity. A score of 100 represents the recommended reference level for professional video wall applications.
Look for at least 800 nits of brightness in well-lit spaces, a contrast ratio around 5000:1 or higher, wide-gamut color reproduction such as 90% DCI-P3, a bezel or seam gap of 2 mm or less, and at least 95% brightness uniformity. Actual requirements vary by room lighting, viewing distance, content type, and installation method.
Tip 1: Measure the wall, viewing distance, and service clearance before selecting a video wall display. A small drawing prevents expensive surprises. Tip 2: Check mounting strength, ventilation, and cable paths. Displays need stable support and clean airflow. Tip 3: Plan front or rear access for maintenance. Reaching a failed panel should not require dismantling the entire wall. Tip 4: Test brightness in the actual room, including reflections from windows and polished floors. Specifications alone can mislead.
Tip 5: Choose a content management system that supports scheduled playback, user permissions, and remote monitoring. Tip 6: Confirm how quickly operators can update emergency notices, menus, or live feeds. Complicated software creates avoidable delays. Tip 7: Test content at the intended resolution and aspect ratio. Cropped text looks unprofessional. A real file is better than a showroom demo. I would also keep a simple offline backup, because networks occasionally fail.
Tip 8: Verify compatibility with media players, cameras, control systems, and signal extenders. Tip 9: Check supported inputs, refresh rates, control protocols, and operating temperatures. One overlooked connector can affect the whole installation. Tip 10: Request a complete system test before approval, not only a display test. Observe startup behavior, synchronization, color consistency, and recovery after power loss. My own process is not perfect; I once underestimated future content growth. Leave spare capacity for new sources and changing layouts. Thin margins create problems later.
Budget should not dominate the decision. AVIXA’s 2024 Industry Outlook estimates the professional audiovisual market at over 300 billion dollars worldwide. That growth reflects demand, but not every display suits every room. Compare total cost, including mounting, processors, calibration, energy, spare modules, and technician visits. A low purchase price can become expensive after one failed panel.
Check pixel pitch from the normal viewing distance, not from a sales brochure. Measure brightness, contrast, viewing angle, bezel width, refresh rate, and thermal performance. For control rooms, confirm 24/7 operating ratings, input redundancy, remote monitoring, and replacement-part availability. ENERGY STAR guidance also shows why operating power matters; a wall running continuously can affect both utility bills and cooling loads. Small savings multiply.
Reliability needs evidence. Request independent test results, warranty terms, response times, and documented failure rates. IEC safety compliance and clear service procedures matter more than impressive specifications. Test the wall with real content, including maps, small text, and dark scenes. Do not skip this step. A display may look excellent in a showroom and feel disappointing under office lighting. I would also reserve budget for future upgrades, because content resolution and control systems rarely stay unchanged. My own preference is not always efficient; over-specifying brightness can waste energy and reduce long-term value.